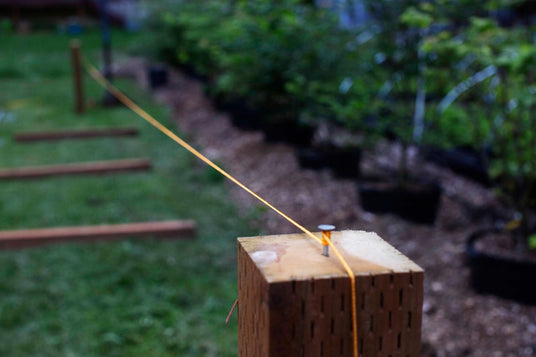
Paso 2: Marcar la línea de la cerca
Use estacas y cuerda o una cuerda de tiza para marcar el perímetro de su cerca. Verifique las medidas y asegúrese de que el diseño coincida con los límites de la propiedad y las regulaciones o restricciones pertinentes.
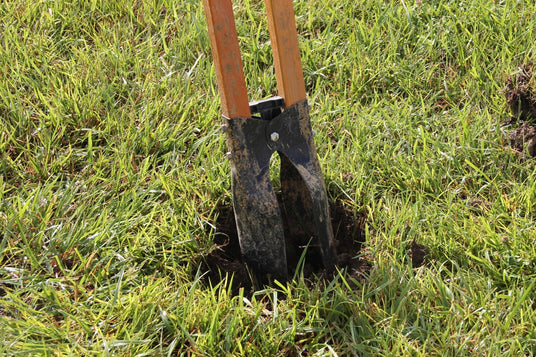
Paso 3: Cavar agujeros para los postes
Utilice una barrena o una excavadora para hacer agujeros para los postes de la cerca a intervalos regulares a lo largo de la línea. La profundidad y el diámetro de los agujeros dependerán del tipo de suelo y de la altura de la cerca, pero como regla general, busque agujeros que tengan aproximadamente un tercio de la altura de los postes y un diámetro de 25 a 30 cm.
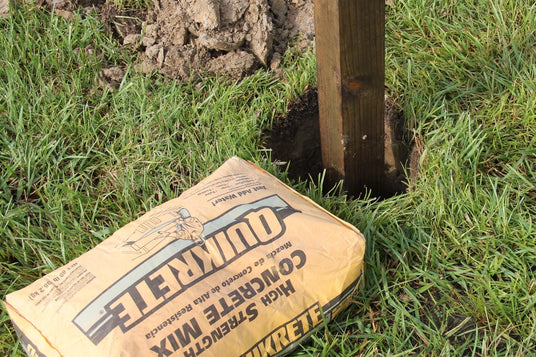
Paso 4: Instalación de las bases de los postes
Una vez excavados los agujeros, coloque los postes de la cerca en ellos, asegurándose de que estén nivelados y correctamente alineados. Rellene el fondo de cada agujero con mezcla de concreto o grava para dar estabilidad y soporte a los postes. Use un nivel para comprobar la verticalidad y ajustar los postes según sea necesario. Deje que el concreto se endurezca según las instrucciones del fabricante.
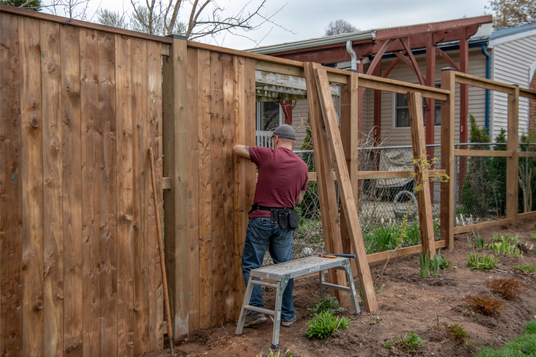
Paso 5: Fijación de paneles/estacas de cerca
Con los postes bien fijados, es hora de fijar los paneles o estacas de la cerca. Coloque los paneles entre los postes, asegurándose de que estén nivelados y espaciados uniformemente. Fije los paneles a los postes con clavos o tornillos, dejando espacio para la expansión y contracción debidas a los cambios de temperatura.
Paso 6: Instalación de las puertas
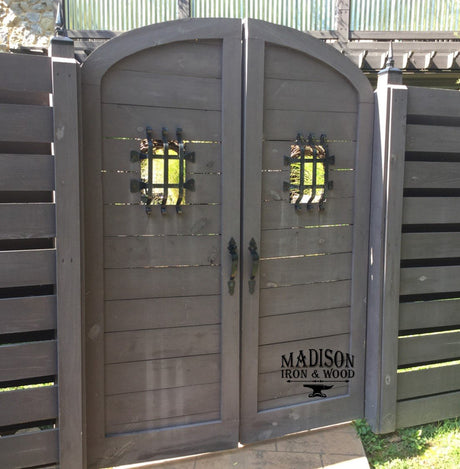
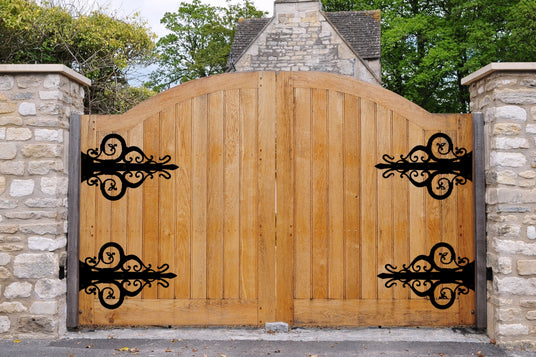
Si su cerca incluye una puerta, instale los postes y fije los herrajes según las instrucciones del fabricante. Asegúrese de que la puerta gire libremente y cierre firmemente. Ajuste las bisagras y el pestillo según sea necesario para lograr una alineación y un funcionamiento correctos.
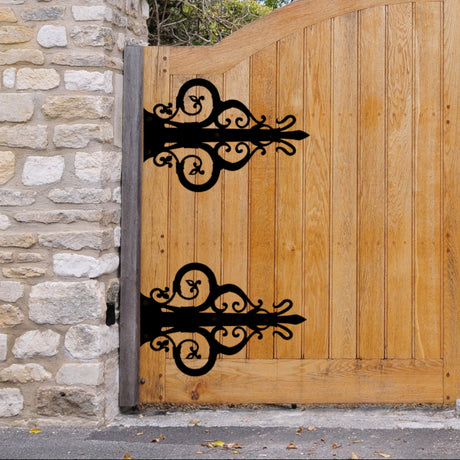
(Opcional) - Agregue estas bisagras falsas decorativas para darle a su puerta y cerca un lindo toque decorativo.
Paso 7: Toques finales
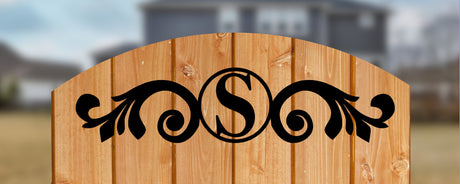
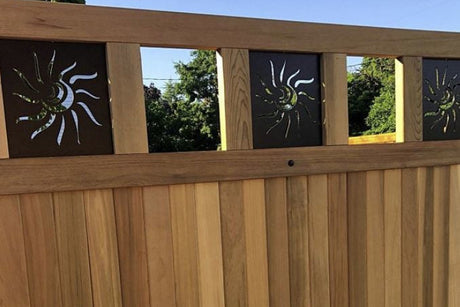
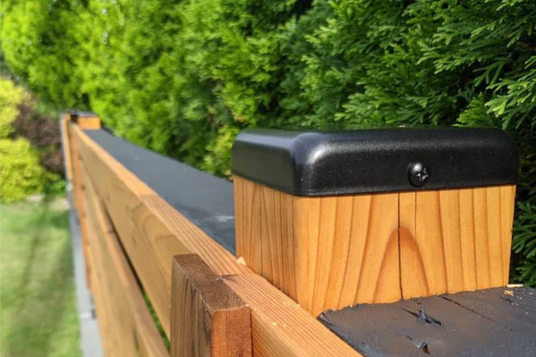
Una vez instalados los paneles o piquetes de la cerca, tómese el tiempo para añadir los toques finales. Aplique una capa de tinte o pintura para proteger la madera y realzar su apariencia. También puede añadir elementos decorativos, como remates para postes, para un mayor atractivo visual.

Paso 8: Mantenimiento
Para garantizar que su cerca permanezca resistente y atractiva durante muchos años, realice tareas de mantenimiento regulares, como inspeccionar si hay signos de desgaste o daños, limpiar los residuos de la estructura y volver a aplicar tinte o pintura según sea necesario.


