Step 1: Preparation
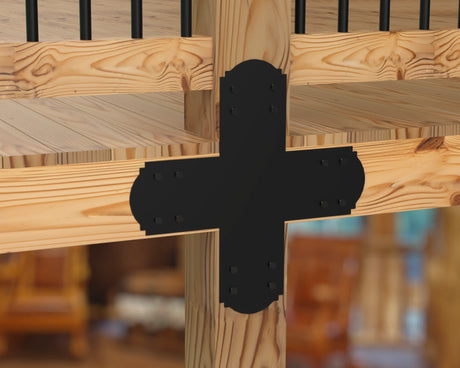
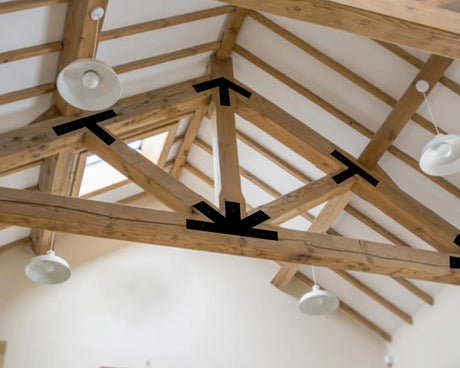
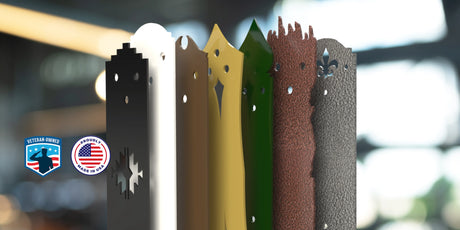
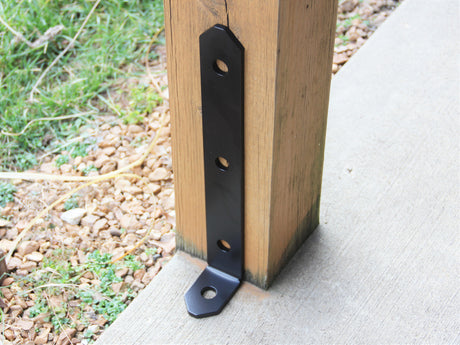
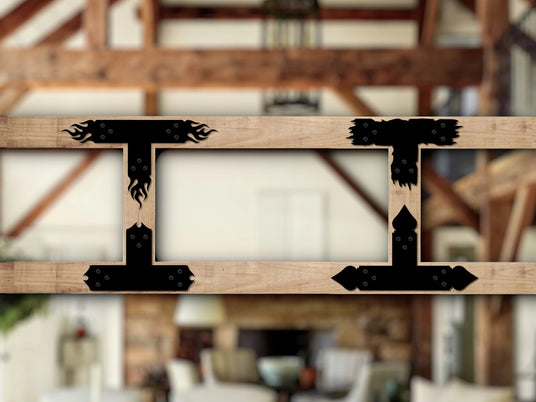
- Begin by selecting the appropriate truss brackets for your beams. Consider the size and weight of the beams, as well as the desired aesthetic.
- Clear the area around the beams to ensure ample working space. Remove any debris or obstructions that may impede the installation process.
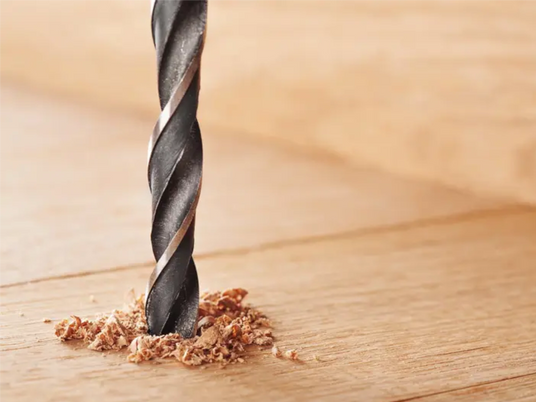
Step 3: Drill Pilot Holes
With the help of a power drill, create pilot holes at each marked location on the beams. The diameter of the pilot holes should be slightly smaller than the diameter of the wood screws to ensure a snug fit.
Step 4: Attach the Brackets
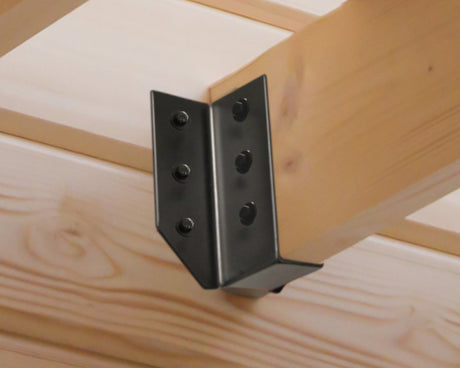
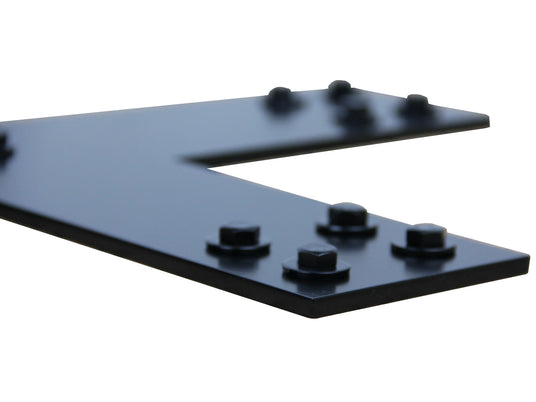
- Position the truss brackets over the pilot holes, ensuring they are aligned with the markings on the beams.
- Insert wood screws through the pre-drilled holes in the brackets and tighten them securely into the pilot holes using a power drill. Be sure to drive the screws in straight to prevent damage to the brackets or beams.


