25% Wrought Iron Products! Shop Now

Free Shipping on Orders Over $150! Exclusions Apply

Buy 10 Post Caps, Get 1 Free! View Products

  • Free shipping on eligible orders over $150*

  • Made in the USA

  • Most items ship in 3-5 days!

A Step-by-Step Guide on How to Repair a Fence Post

With extra steps to make sure you won't have to do it again!

A sturdy fence is essential for maintaining the security and aesthetics of your property. However, over time, fence posts may weaken or become damaged due to various factors such as weather conditions, age, or accidents. The good news is that repairing a fence post is a manageable task that can save you the cost of a complete fence replacement. In this guide, we will walk you through the steps to effectively repair a fence post.

Materials and Tools:
Before you begin the repair process, gather the necessary materials and tools. You'll need:

  1. New fence post
  2. Post hole digger
  3. Concrete mix
  4. Gravel
  5. Water
  6. Level
  7. Support stakes
  8. Tamping bar or rod
  9. Tarp or plastic sheet
  10. Saw (if cutting the new post is required)

Step 1: Assess the Damage

Examine the fence post to determine the extent of the damage. If the post is only slightly leaning or has minor damage, you may be able to repair it without completely replacing it. However, if the post is severely rotted or broken, replacement may be the best option.
Step 2: Remove the Damaged Post

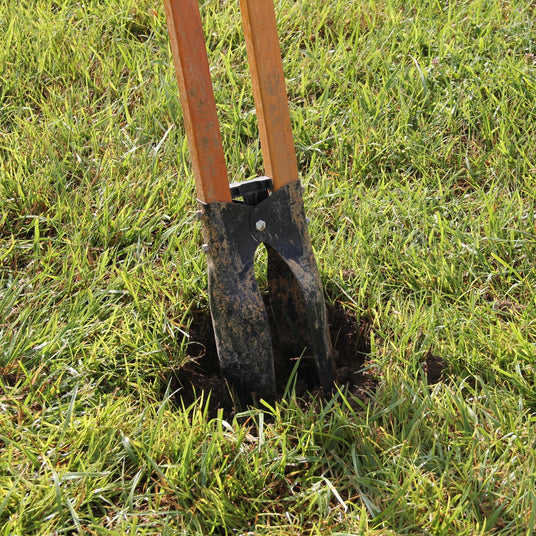
For a full replacement, start by removing the damaged post. Dig around the post using a post hole digger and expose the concrete base. Carefully remove the post and any remaining concrete. Be cautious not to damage the surrounding fence panels.

Step 3: Dig a New Hole

Use the post hole digger to excavate a hole for the new post. The hole should be deep enough to support the post securely, typically one-third to half the length of the post. Add a layer of gravel to the bottom of the hole to improve drainage.
Step 4: Prepare the New Post

Select a new fence post of the same material and dimensions as the original. If necessary, cut the new post to match the height of the existing fence. Ensure the post is treated or naturally resistant to decay if it will be in contact with the ground.

Step 5: Install the New Post

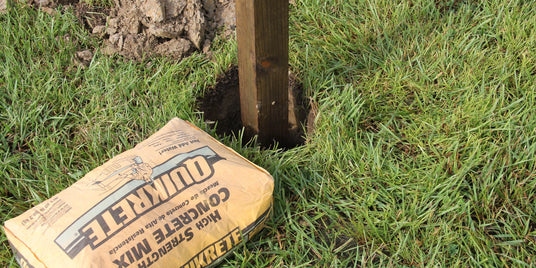
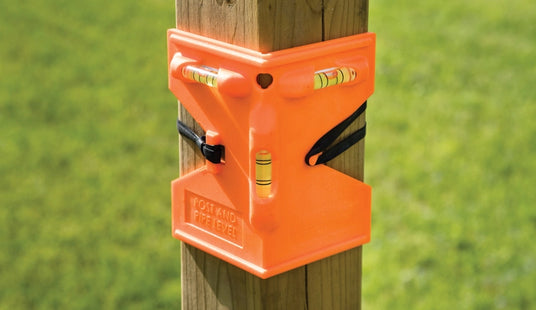
Place the new post in the hole and use a level to ensure it is straight. Temporarily secure the post in place with support stakes. Mix the concrete according to the manufacturer's instructions and pour it into the hole, ensuring the post is centered and level. Allow the concrete to set.
Step 6: Backfill and Tamp

Once the concrete has cured, backfill the hole with soil and tamp it down to secure the post further. Ensure the soil slopes away from the post to prevent water pooling.

Step 7: Final Check

Reattach the fence panels to the new post and check for stability. Make any necessary adjustments to ensure the fence is straight and secure.

How to Extend the Life of Your New Post

This part is easy! Add post caps to your new post and existing posts. This will make your post last much longer then without a cap. And lucky for you, you are in the perfect place! We have the largest selection of decorative post caps in the industry. We have all sizes to fit your needs!

Conclusion

Repairing a fence post is a manageable DIY project that can extend the life of your fence and save you money. Regular maintenance and prompt repairs will help keep your fence in top condition, ensuring it continues to serve its purpose for years to come.