Mailbox Flags
View all-
25% off
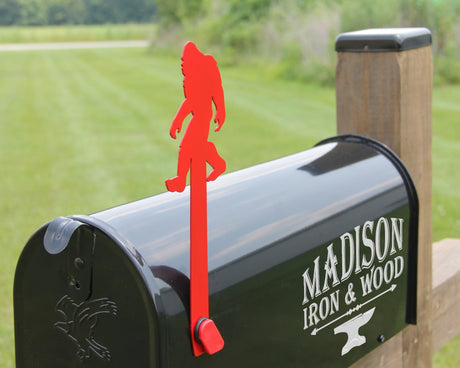
Bigfoot Mailbox Replacement Flag, Flag Mounting Hardware Not Included
$14.95$19.95Unit price /Unavailable -
-
25% off
Rooster Mailbox Replacement Flag, Flag Mounting Hardware Not Included
$14.95$19.95Unit price /Unavailable -
-
-
-
25% off
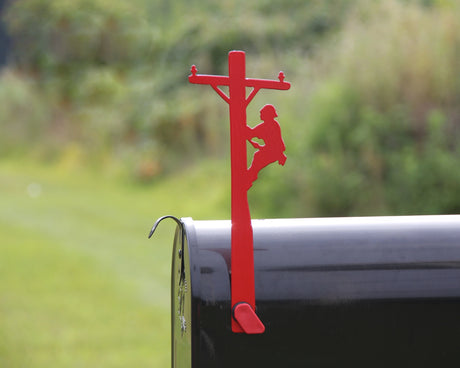
Lineman Mailbox Replacement Flag, Flag Mounting Hardware Not Included
$14.95$19.95Unit price /Unavailable -
-
25% off
Dachshund Mailbox Replacement Flag, Flag Mounting Hardware Not Included
$14.95$19.95Unit price /Unavailable -
-
25% off
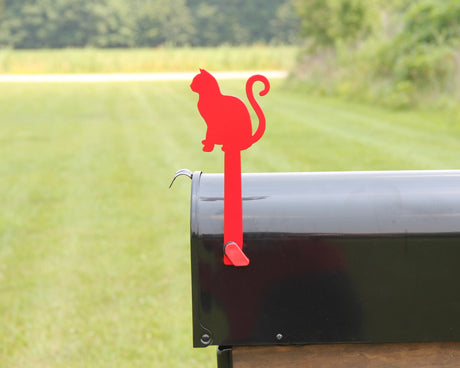
Cat Mailbox Replacement Flag, Flag Mounting Hardware Not Included
$14.95$19.95Unit price /Unavailable -
-
25% off
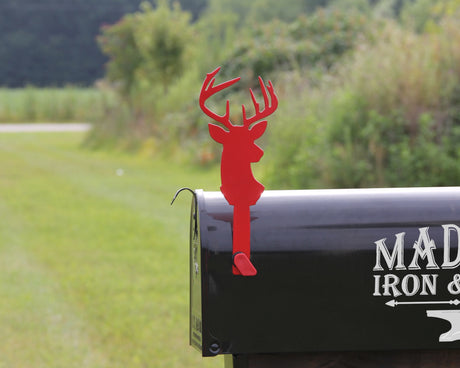
Deer Mailbox Replacement Flag, Flag Mounting Hardware Not Included
$14.95$19.95Unit price /Unavailable -
-
25% off
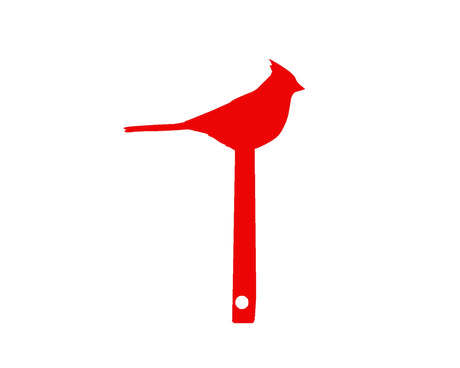
Cardinal Mailbox Replacement Flag, Flag Mounting Hardware Not Included
$14.95$19.95Unit price /Unavailable -


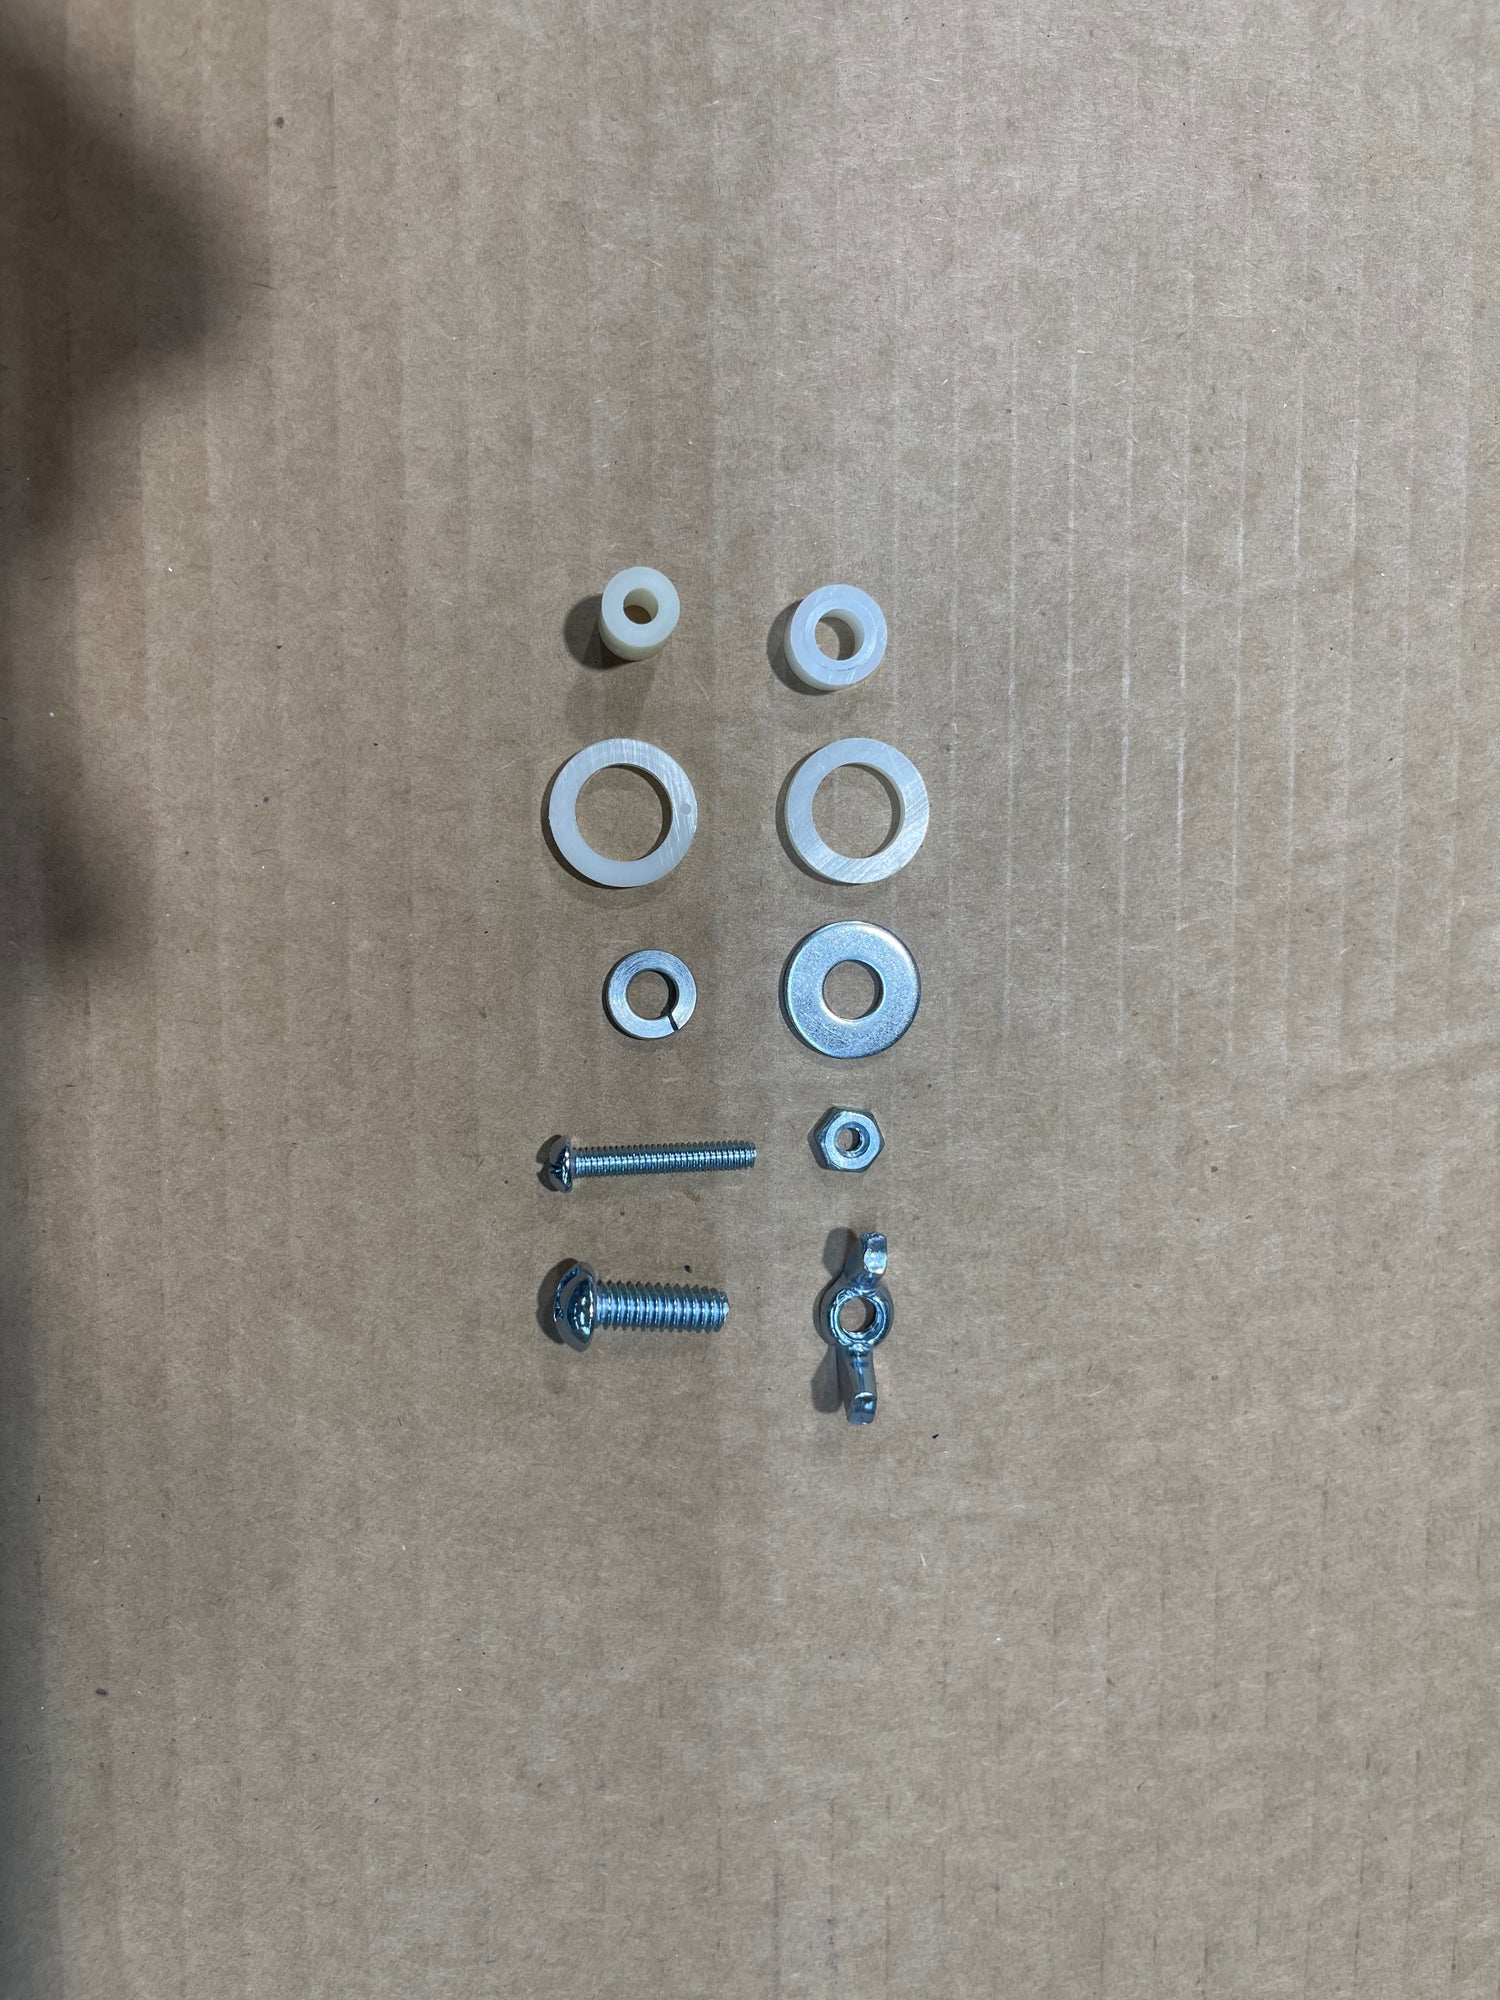
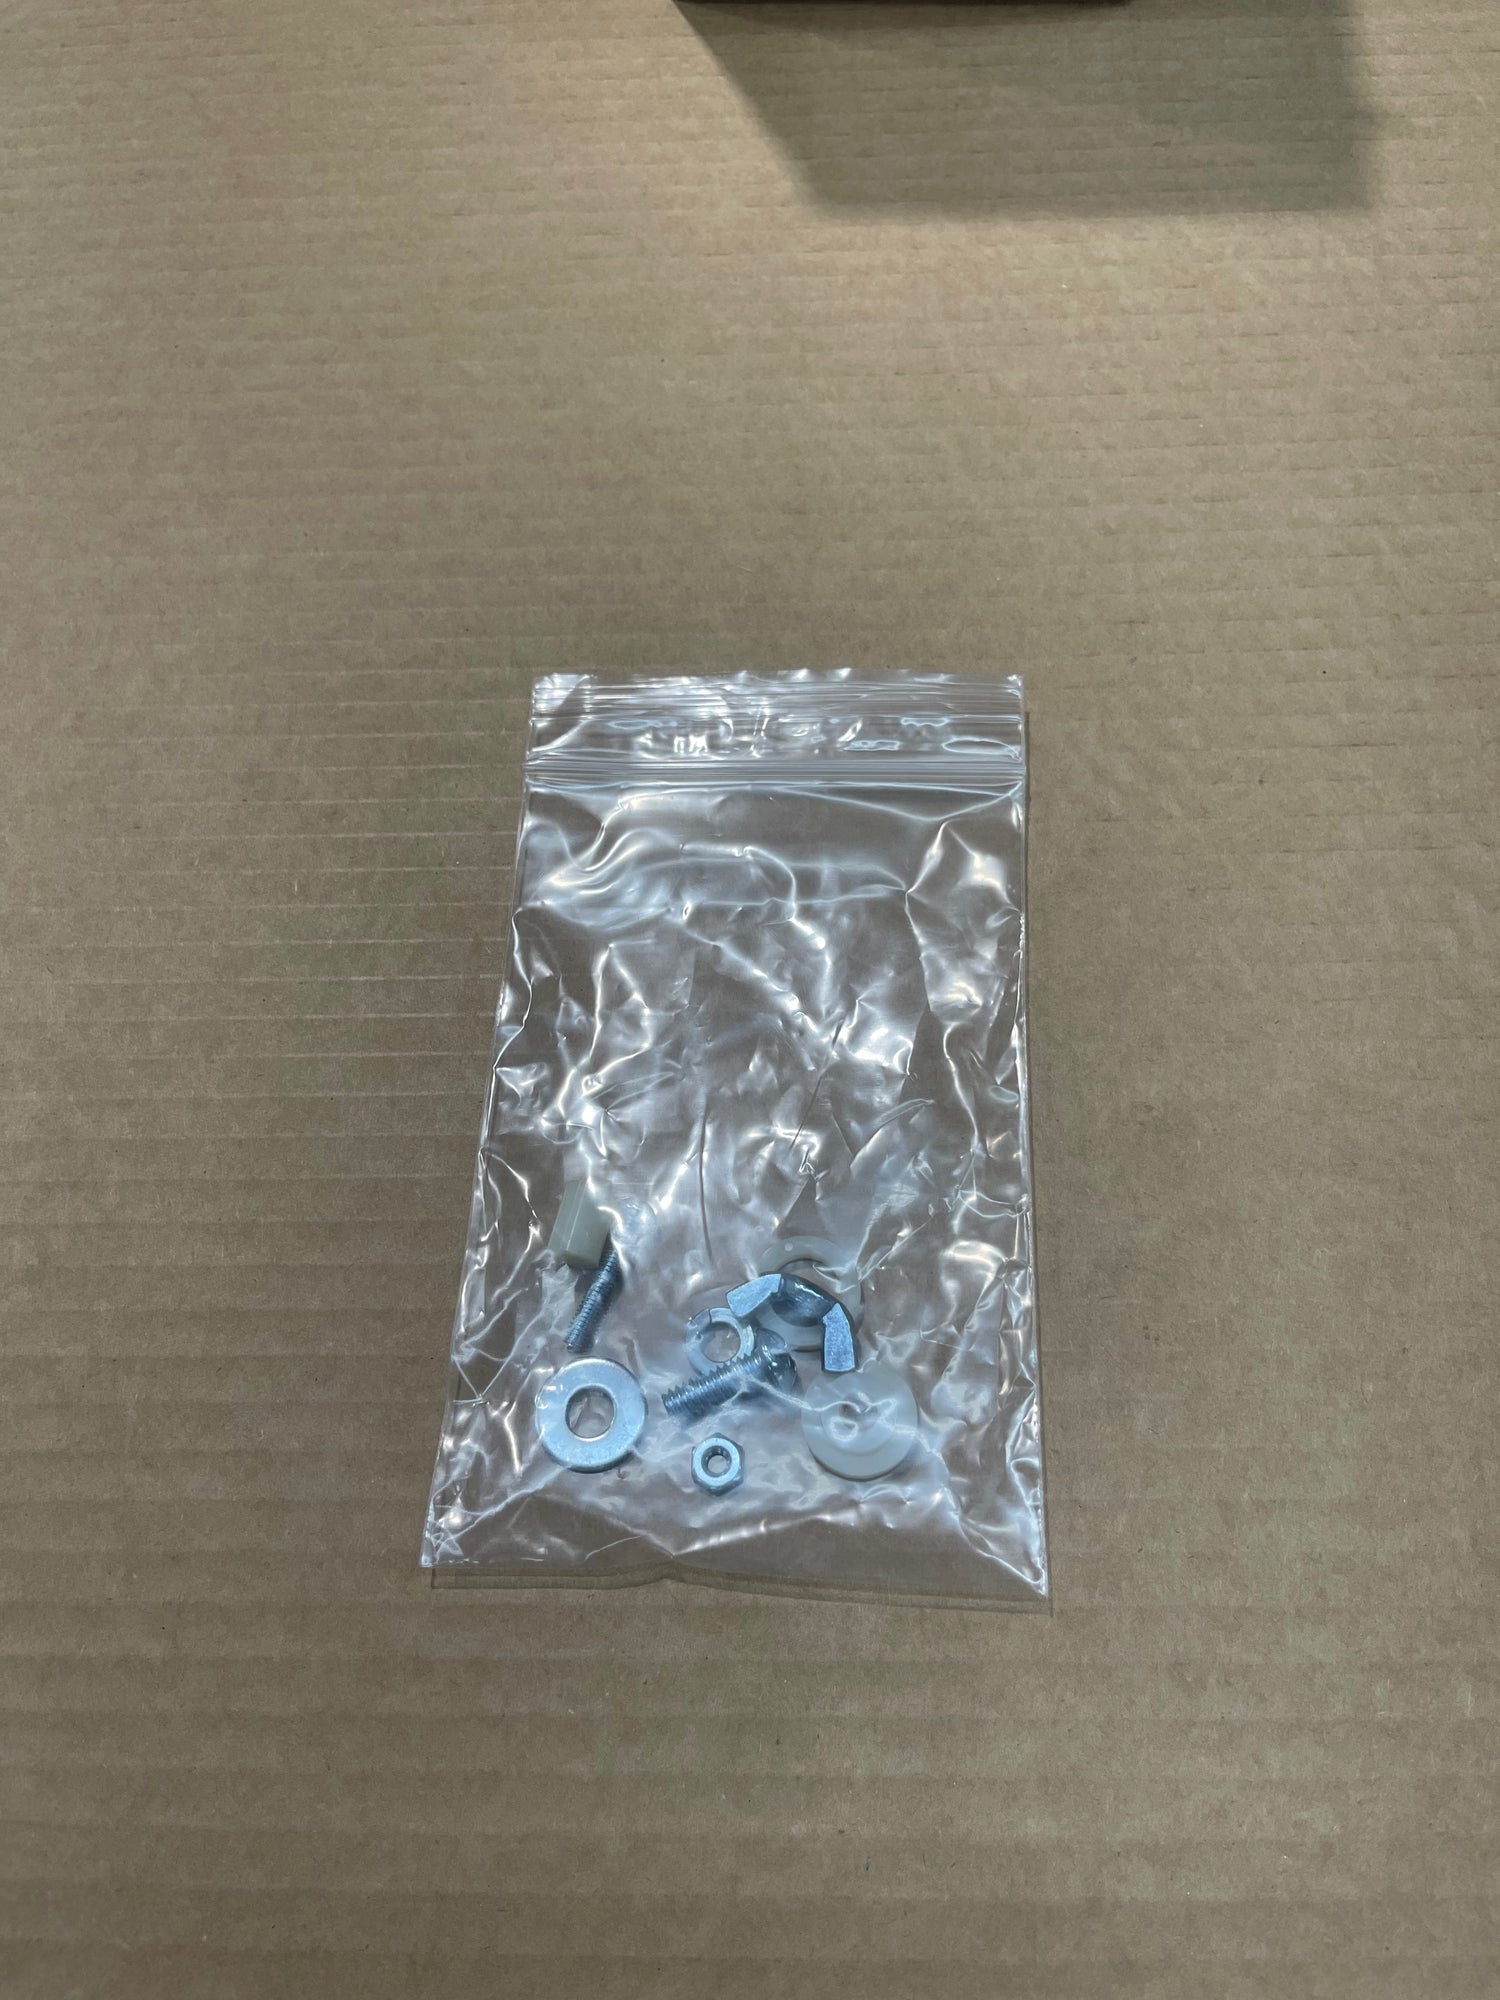
Flag Mounting Hardware Kit for Metal Mailbox is backordered and will ship as soon as it is back in stock.