


-

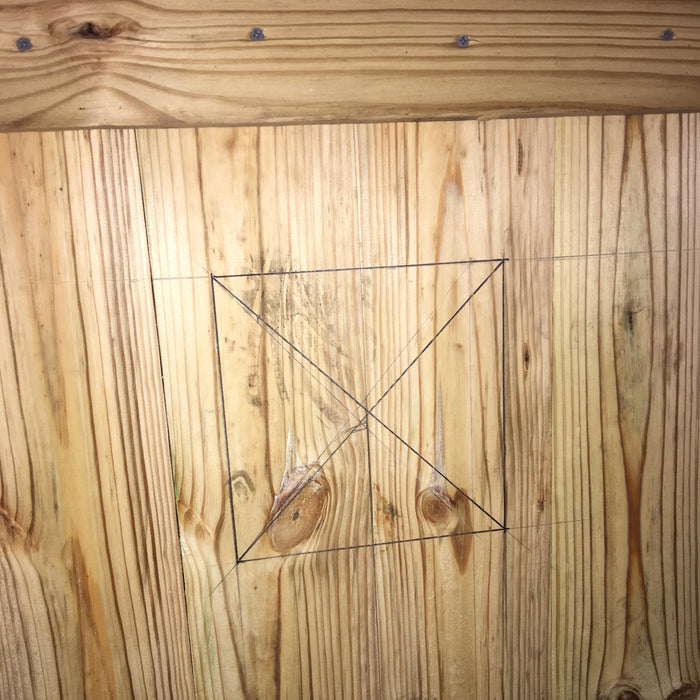
Step 1: Measure
Measure and mark out the area that you need to cut out for your new gate window. Make sure to leave some extra on each side for the hardware.
-

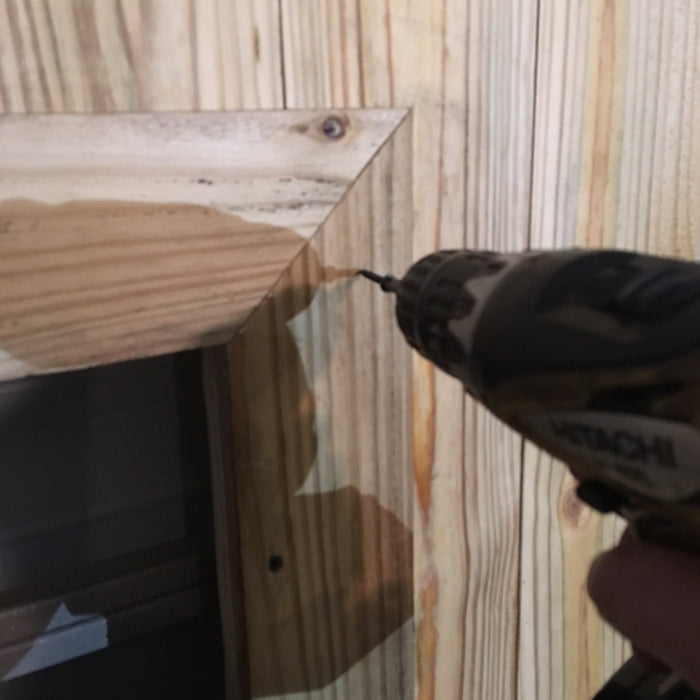
Step 2: Drill Pilot Hole
You will need to drill a hole large enough for your jigsaw blade to fit through. This is typically about 0.25" - 0.5". Drill all the way through.
-

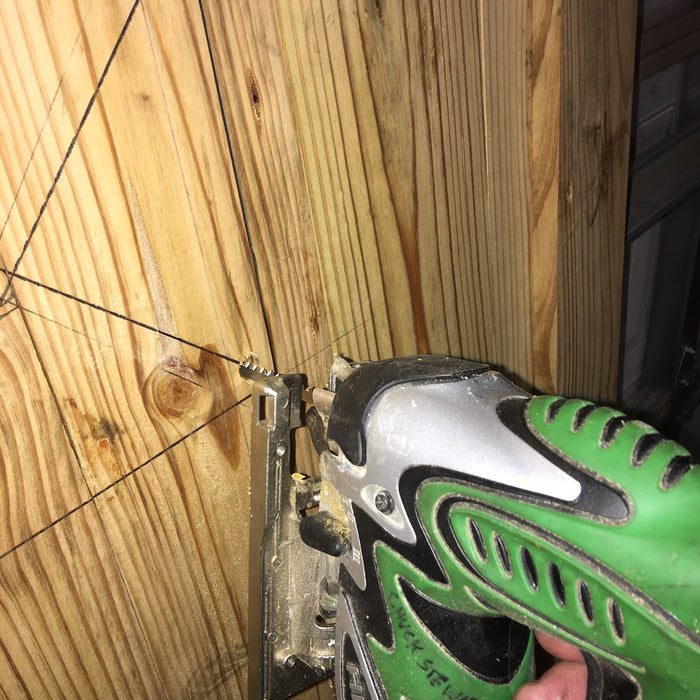
Step 3: Cut
Use your jigsaw to cut out the marked area where your gate window will go. Make as straight of cuts as possible and try to stay on the line without taking any extra material off.
-

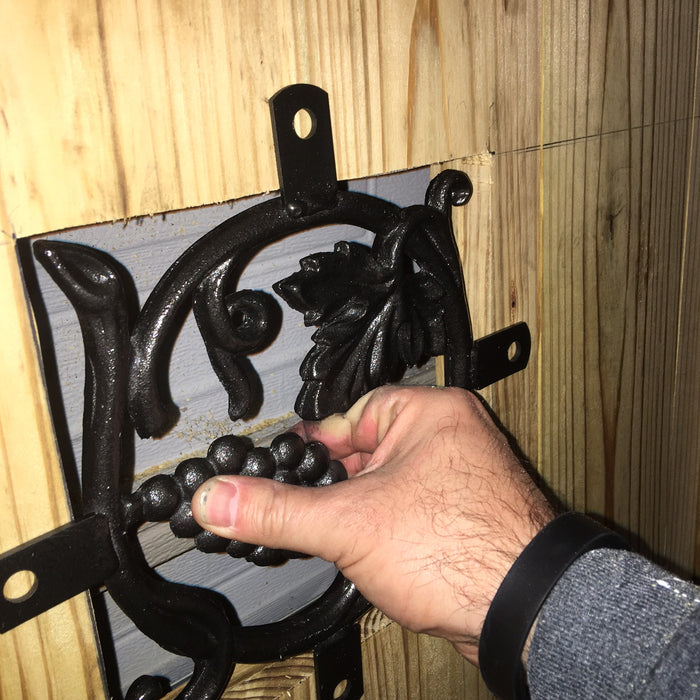
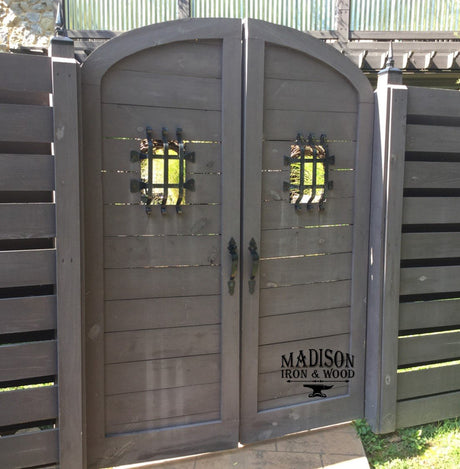
Step 4: Installing Your Window
Before you fasten your new window to your gate, make sure the hardware holes line up with your gate. You should have about an inch from each edge of the hole.
-

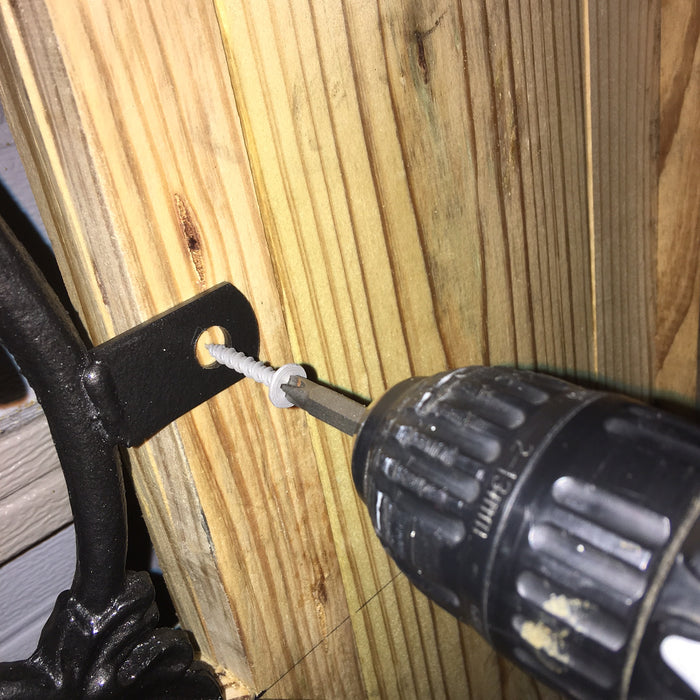
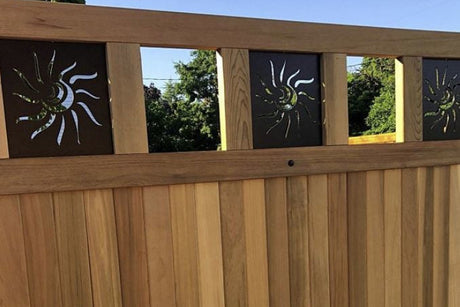
Step 5: Fastening
Use a drill and hardware that is no longer than the thickness of your gate. If the hardware is too long, they will poke out the other side. Once you're ready to install the window, fasten the hardware.
-

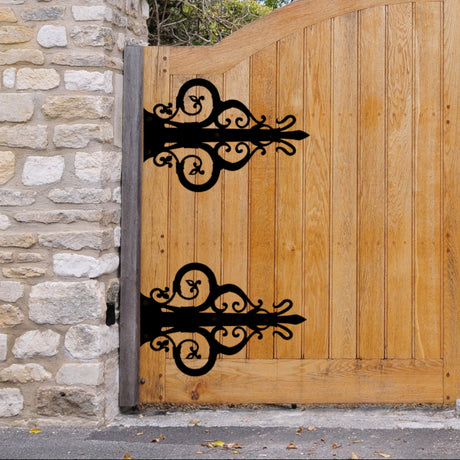
*Optional* Step 6: Frame
Add an extra element to your gate window. Make a small frame around the installed window. This will not only look great, but it will also protect the window and make it last longer!