

Post Dimensions
Here are the dimensions that we recommend you to use for a typical mailbox post using nominal 4x4 wood posts.
Dimension Images
-
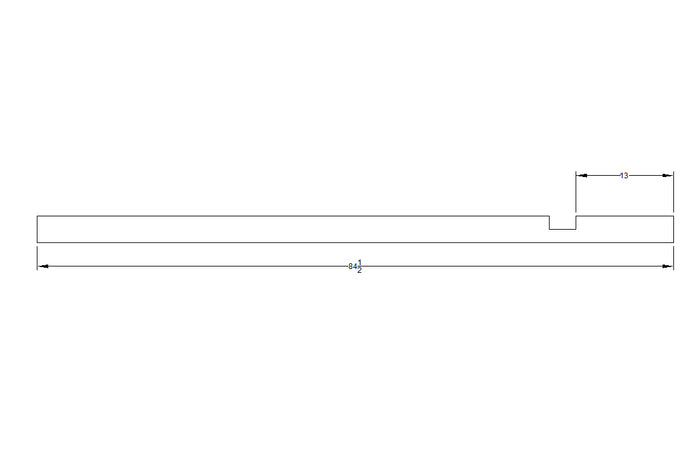
Vertical Post Dimensions
-
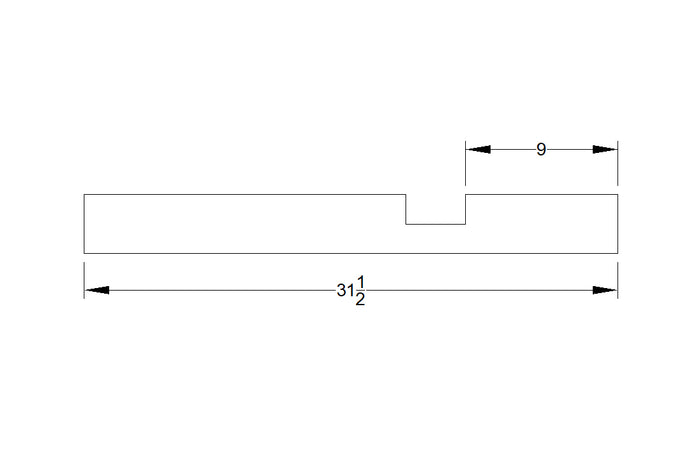
Horizontal Post Dimensions
-
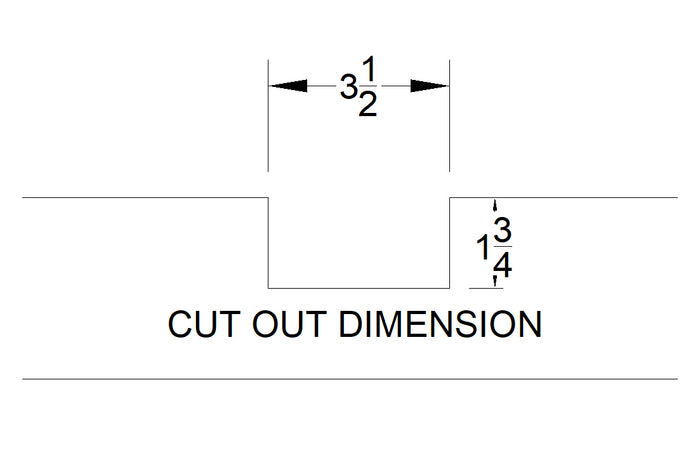
Joint Dimensions


-
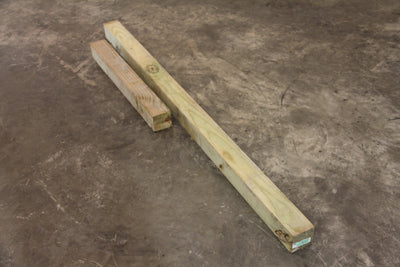
4x4 Posts
-
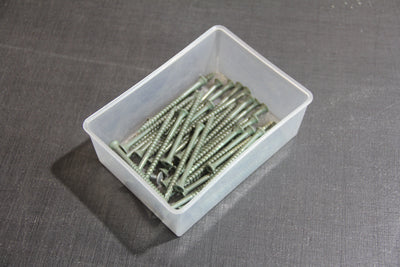
3" Deck Screws
-
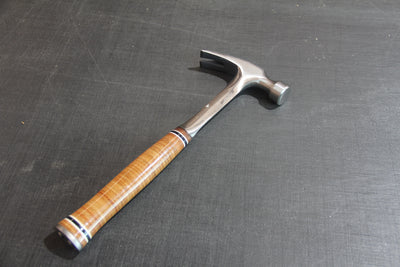
Hammer
-
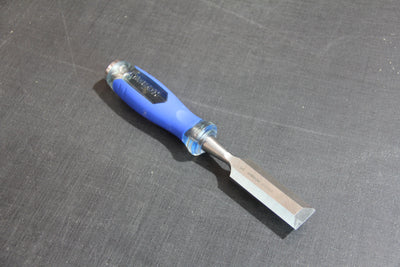
Chisel
-
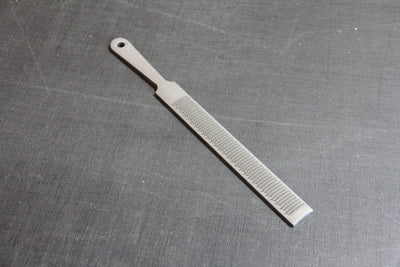
Rasp
-
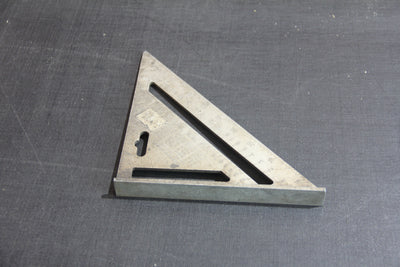
Square
-
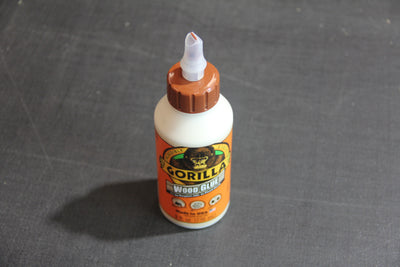
Wood Glue
-
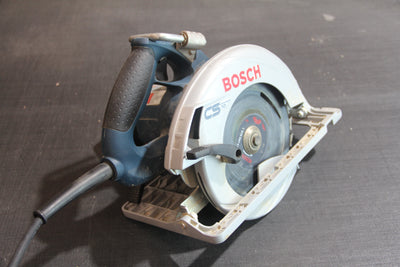
Circular Saw
-
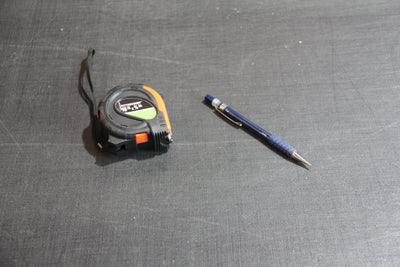
Ruler and Pencil
-

Quickrete
-

Post Hole Digger


Step 1: Measurments
-
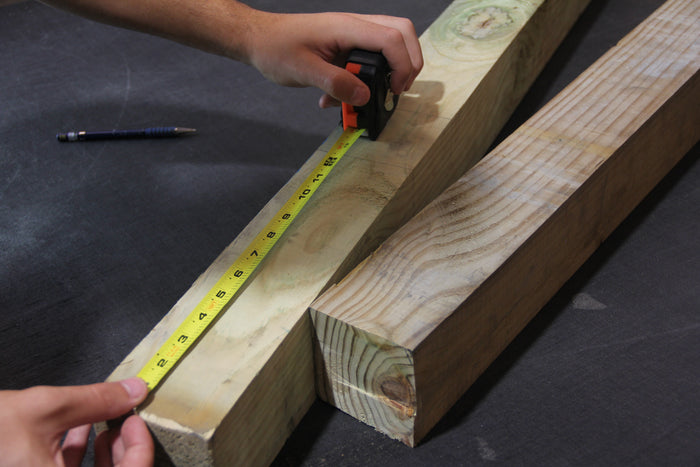
Post Lengths
Mark all measurements before you cut. And remember, "Measure Twice, Cut Once". Make two posts. The vertical post should be 72 1/2"-84 1/2" (the longer length will allow you to set it deeper into the ground for more stability) and the horizontal post should measure 31 1/2".
-
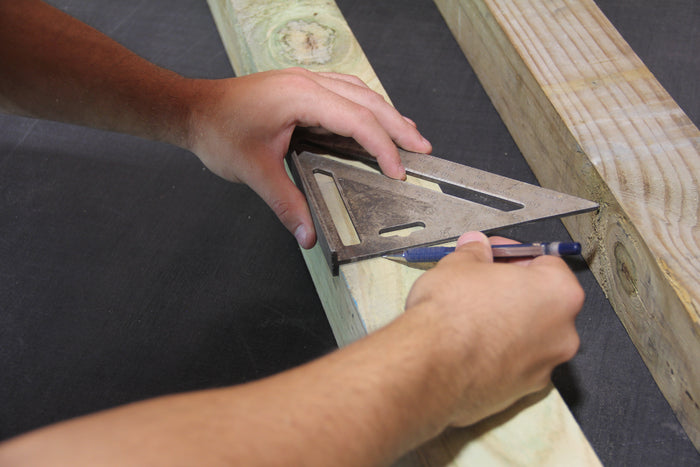
Mark Lines for Joint
Mark sections for the vertical and horizontal posts to joint together. For the exact measurements, refer to the dimension images. For the veriticle post, start the joint 13" from the top. For the horizontal post, start the joing 9" from one end. Each joint should be 3 1/2" wide and 1 3/4" into the post (this is for the width of a nominal 4x4 post, this measurement should be the width of the post you are using).


Step 2: Joint Cuts
-
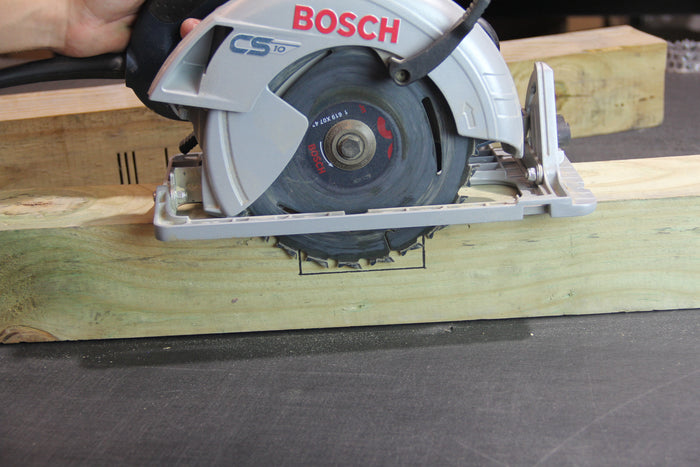
Set the blade depth
Set the blade depth to 1 3/4" (to meet the bottom of the joint).
-
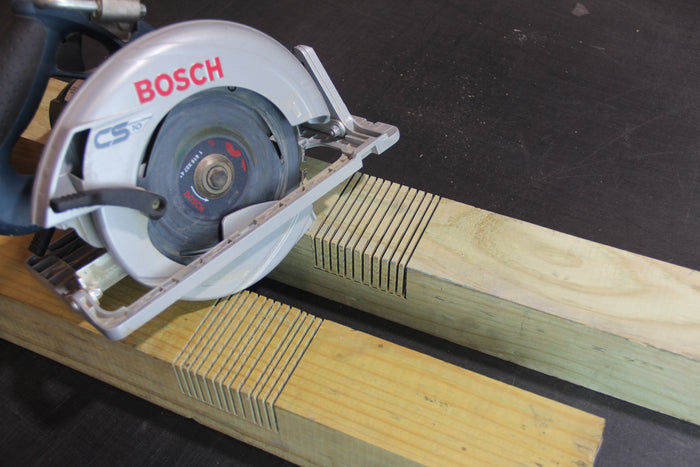
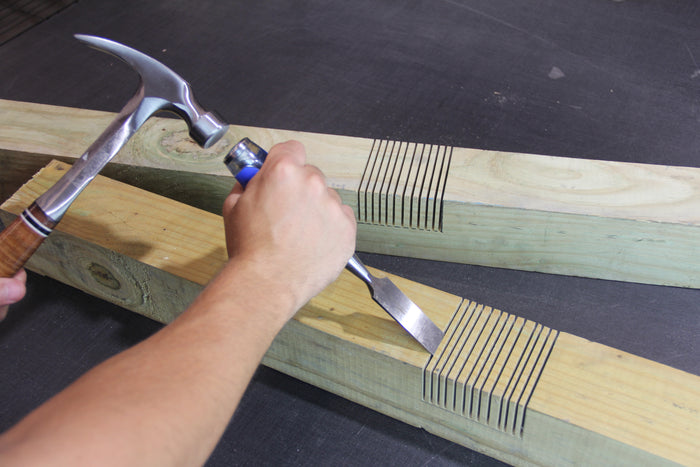
Cutting
Make several cuts inside the joint area that you measured out in Step 1. The more cuts you make, the easier the excess wood will be to remove.
-
Remove Excess Wood
Use your hammer and chisel to remove the excess wood. Don't worry about getting it perfectly flat on the bottom of the joint.


Step 3: Preparing and Assembly
-
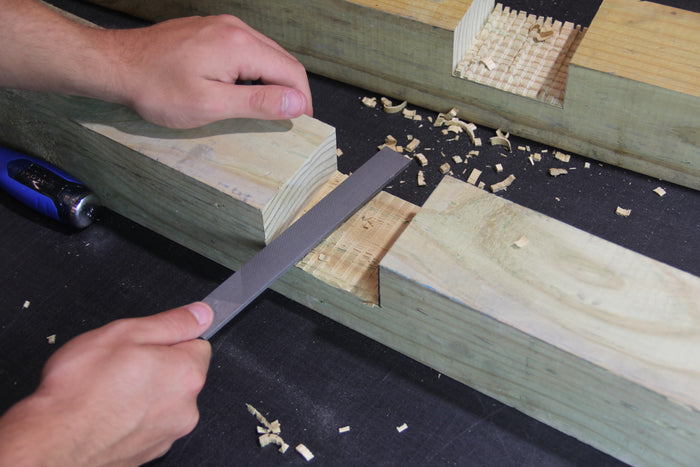
Level the joint
Use your rasp to level out the excess wood that didn't break off cleanly. This may take some elbow grease, but get it as smooth and level as possible.
-
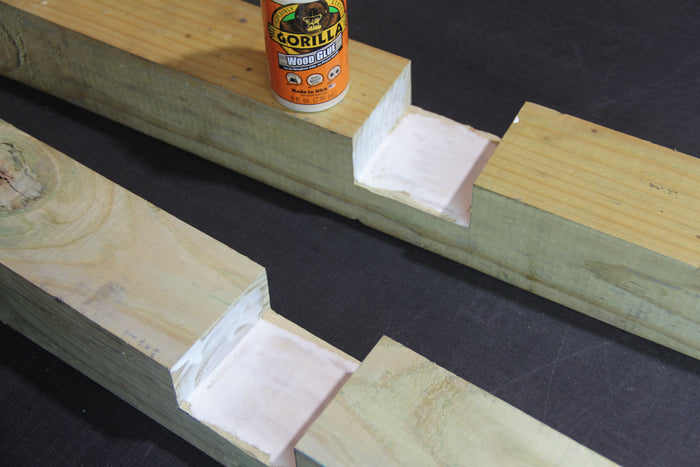
Apply Wood Glue
Use your wood glue to make an even layer of glue on both sides of the joint. This will add extra stability and make an overall better mailbox.
-
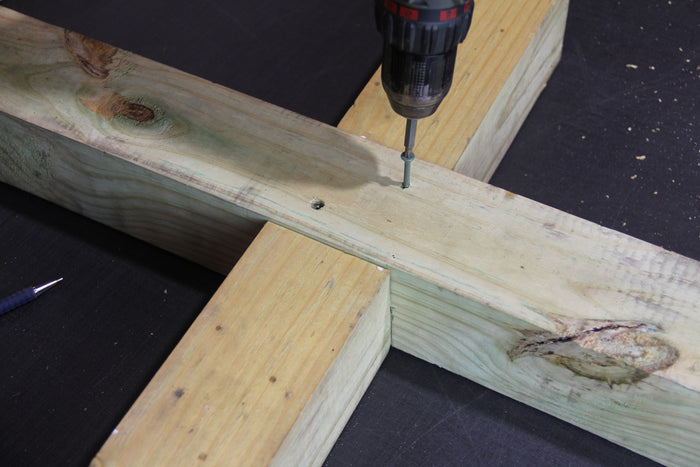
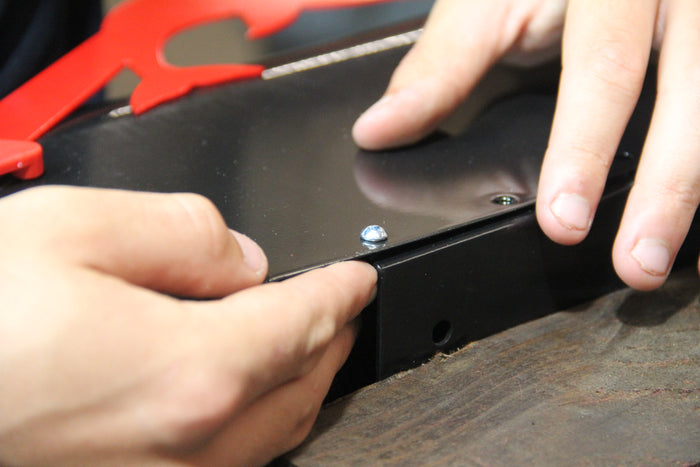
Fasten Joint
Assemble the 2 posts together and use the 3" deck screws fasten the joint together.
*Optional step: Use wood putty to fill in the screw holes to make the screws nearly invisible*


*Optional Steps*
-
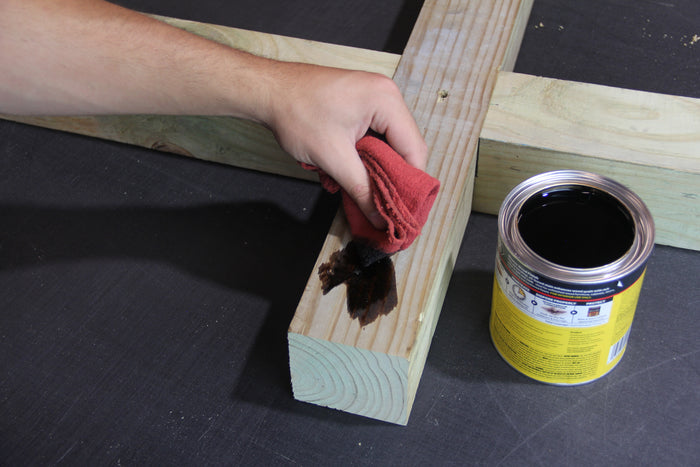
Stain / Paint
Adding a stain or paint will make your post look amazing. Not only does the color look really nice, but it also hides all imperfections of the post!
-
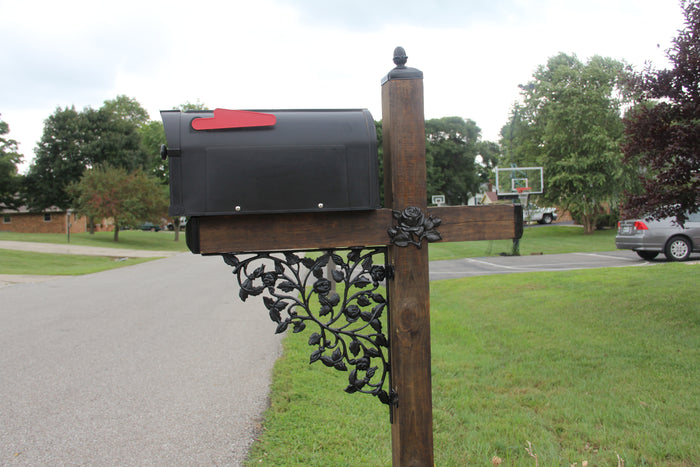
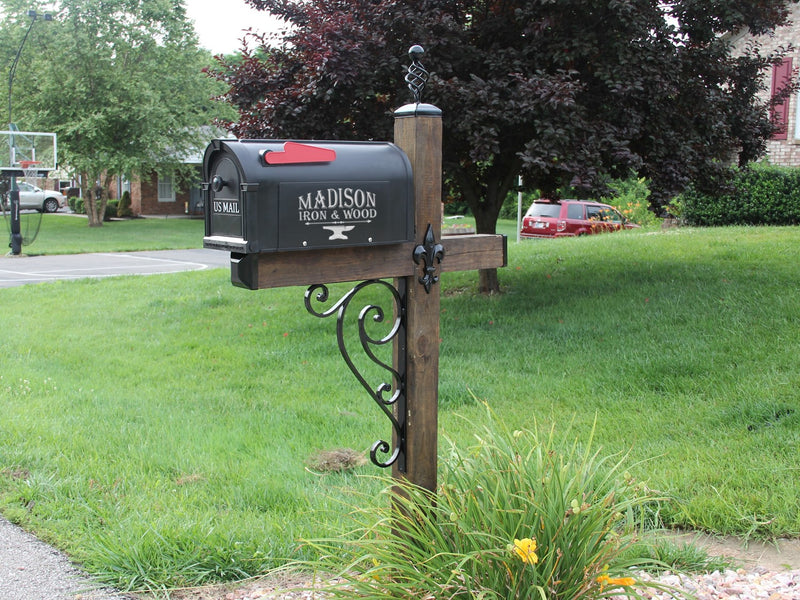
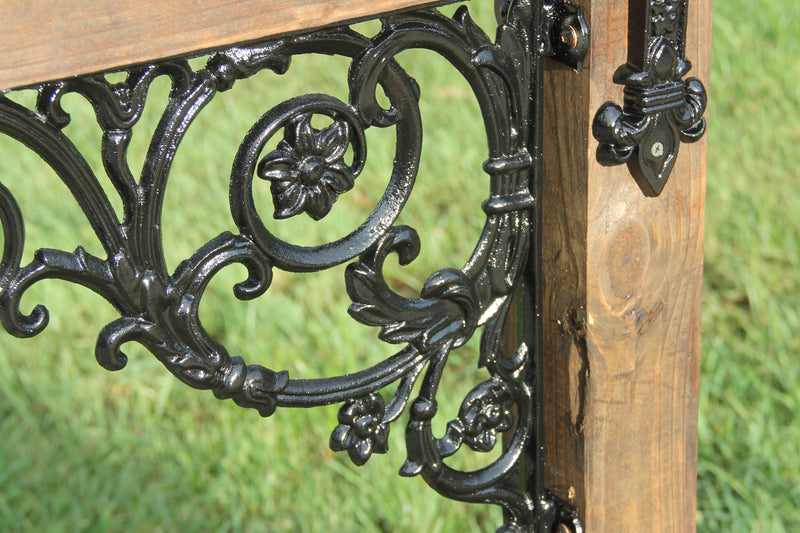
Add Mailbox Kit
Our mailbox kits take your mailbox to a whole new level! We have many different styles with even more colors and options! These will make your mailbox the best on the block!


Step 4: Attatch Mailbox
-
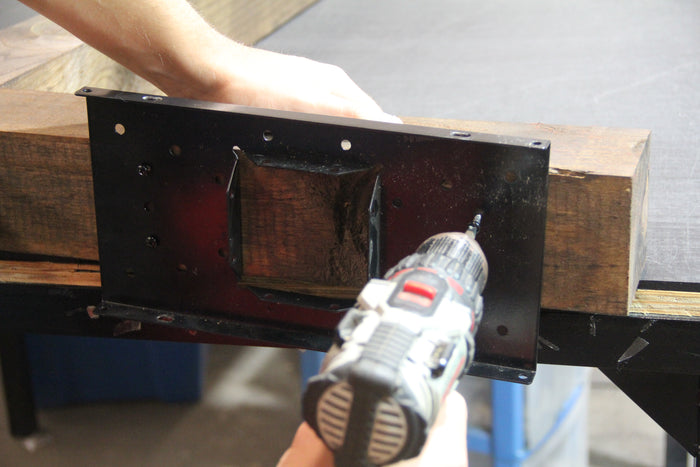
Mailbox Mount
Fasten the mailbox mount to the top of the horizontal post. This piece should come with any mailbox that is purchased at a hardware store.
-
Assemble Mailbox
Fasten your mailbox to the mount.


Step 4: Install Post
-

Dig Hole
Dig the hole for the mailbox post. Should be about 12" - 24". Some local codes mandate how deep you set your mailbox, so make sure you are not violating any codes!
-
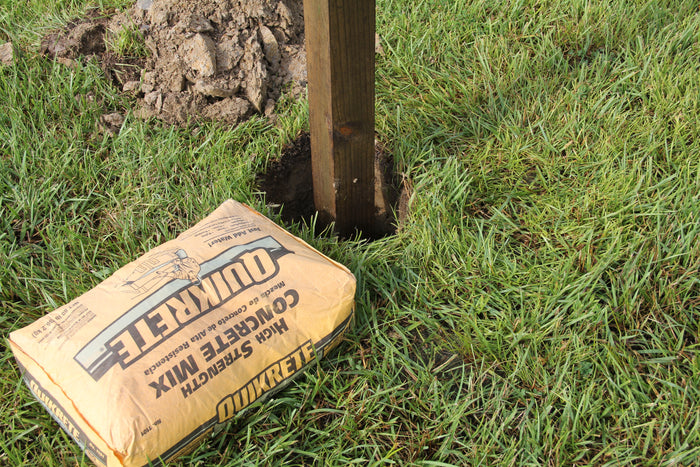
Set Post
Set your post in the hole and fill in the sides with Quickrete. This will ensure your post will never move once its set!
*We recommend stabalizing your post while the Quickrete sets. This will ensure it does tilt before it is done setting*


Upgrade Your Mailbox With Our Products!


1 comment
I will try to make it.