


Drywall
There are a few options with drywall, and it all depends on the size and weight of your sign.
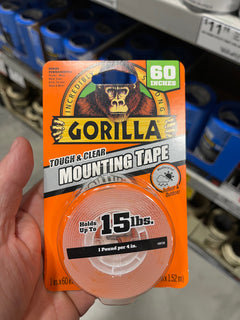
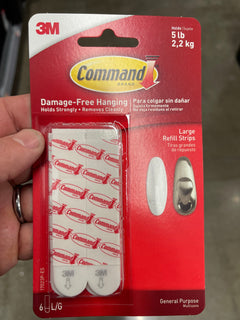
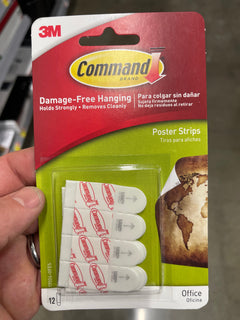
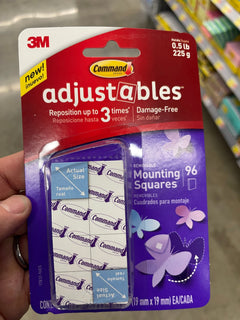
Adhesive strips/ double sided tape is a great option for hanging small metal signs on smooth surfaces like drywall when your sign does not have pre-drilled holes. They are easy to use and won’t damage your walls. Keep in mind to use an adhesive strip that is weighted appropriately for your sign and surface. Examples would be 3M command strips or Gorilla mounting tape.
3M Claw is a product that lets you hang without needing tools. You push it directly into your drywall and then it has a clip to hang your sign on. This is an option if you do not have pre-drilled holes in your sign and don’t have any tools.
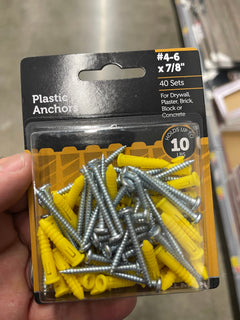
Screws and anchors: For our personalized signs we typically pre-drilled holes and provide screws that are powder-coated to match the sign. This not only gives your sign a great finished look but also ensures that it is securely hung. We suggest using a stud finder to locate a wood stud and screw directly into it using our matching powder-coated screws. Alternatively, if you wish to hang your sign in a place that does not have a stud, use drywall anchors. Choose your location, Pre-drill a hole, hammer the anchor in and then use the screws provided.
Nails: For our more delicate smaller word signs if a customer requests, we can drill 1/8” holes in places that will fit a small black panel nail. These can be nailed into drywall and for additional security we suggest using double sided tape.

Brick/Stone
For brick or stone, you will need some special tools such as a masonry drill, masonry drill bits and a hammer drill.
Tapcon screws. These are specially designed screws that tap threads into the concrete without needing an anchor. You will need to use a drill with a masonry bit. Use the proper drill bit based on the size of your Tapcon screw and drill a pilot hole. After you have drilled your pilot hole, position your sign, place a plastic spacer behind the sign to protect it from being scratched and damaging the surface of the sign. Then use a hammer drill to tighten the Tapcon screws.
Screws and plastic hangers/ sleeve anchors for brick or concrete. Same as above you want to mark your spot, use a drill with a masonry bit, drill your pilot hole, Insert the anchor into the pilot hole, Line up the holes in the sign with the holes in the brick, put a spacer behind the sign to protect it from scratches and attach the sign using the screws.

Tile
Below are options for tile, one is very permanent and the other we recommend.
Screws and anchors are an option but having said that I recommend you seek out professional help if you want to go this route. It is not a typical DIY project for the average homeowner, and you do not want to have to try and replace cracked tile if you make a mistake.
Exterior double-sided tape or automotive body panel double-sided tape. We believe this to be the best solution. There are many brands on the
market so go with a brand you trust, just make sure that the label says it is water resistant and high heat resistant or uses a term like VHB, which stands
for Very High Bond. We have customers who use this type of tape to hang items in bathrooms and kitchen where steam and water can be an issue.

Wood
Wood is by far the easiest surface to hang our signs from.
Screws: The best option is to simply position the sign and use the provided screws. You may want to use a spacer behind the sign if the surface is uneven to protect the sign from damage.

Vinyl Siding
Screws & Caulk: Always ensure you are screwing into a structural frame such as a
stud, OSB or plywood and not just into siding. Once you have found a solid structure to hang your sign from and you are happy with the location pre-drill a hole in the center of the siding and add a dab of silicone caulk, to your screw to help seal up the hole Using screws the appropriate length and weight for your sign.
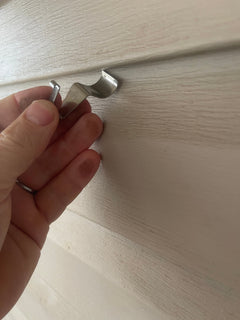
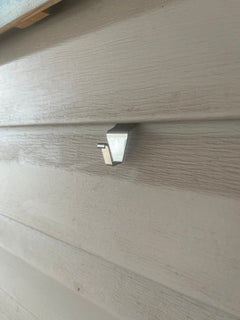
Vinyl siding hooks/Clips: This option preserves the integrity of your siding, although it cannot support as much weight. Vinyl Clip hangers fit under your vinyl siding.
Bonus Options:
Magnets
Magnets
Threaded magnets can be screwed into the wall and because our signs are made from Carbon steel, they will stick to the magnet. This is a great option if you like to change your signs for various occasions. Make sure you use a strength heavy enough to support your sign and remember magnets do not stick to aluminum or stainless steel.
Hanging Putty/ Adhesives:
Hanging Putty/ Adhesives:
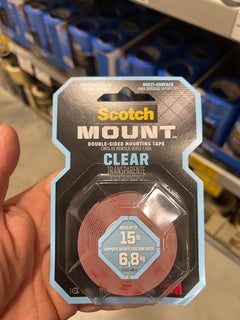
There are lots of versions of mounting putty on the market such as Loctite, Gorilla, Scotch, or 3M which are great for light weight indoor signs. For heavier signs or outdoor applications, I suggest a more permanent adhesive such as Butyl tape, VHB tape and silicone caulk or liquid nails. Customers have varying levels of success with mounting putties, but you will have the most success if you follow the directions on the package and make sure your surface is prepared appropriately.
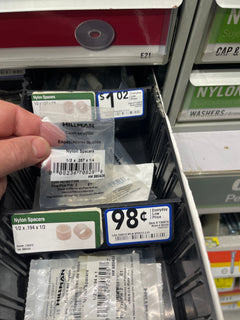
Plastic Spacers
Plastic Spacers
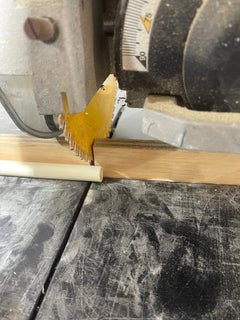
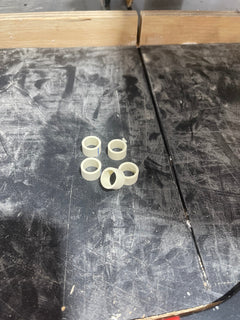
Sometimes customers need to add some space behind their sign for numerous reasons such as, uneven surfaces behind the sign, adding more depth to your sign for visual affect, wanting to place LED’s behind your sign… For whatever reason, here are some suggestions on spacers to use.
You can typically find premade plastic spacers in your hardware store in the miscellaneous hardware section, just make sure the hole in the spacers is big enough for the screws you are using. If you can’t find any, I typically like to just use PVC pipe and cut it to whatever length you want. It can be cut easily with a miter saw, radial arm saw, jig saw or a tubbing cutter. Also, CPVC is very easy to paint to a color you desire, if you think it will show any at all. The CPVC can be cut to any length that you desire. So, if you are hanging your sign on a rock and the surfaces vary, you can cut them in different lengths for this application.