
A pergola is a timeless and elegant addition to any outdoor space, offering shade, style, and a touch of sophistication to gardens, patios, and backyard retreats. Whether you envision it as a cozy spot for al fresco dining, a tranquil space for relaxation, or a charming backdrop for climbing vines and flowers, building your own pergola allows you to customize and create a sanctuary tailored to your unique taste and needs. In this detailed guide, we'll take you through the step-by-step process of constructing a pergola, from planning and preparation to assembly and finishing touches.
Materials and Tools:
Before starting your project, gather the necessary materials and tools. This typically includes:
- Pressure-treated lumber or cedar posts (for the support columns)
- Pressure-treated lumber or cedar beams (for the crossbeams)
- Pressure-treated lumber or cedar rafters (for the roof)
- Concrete mix or gravel (for post footings)
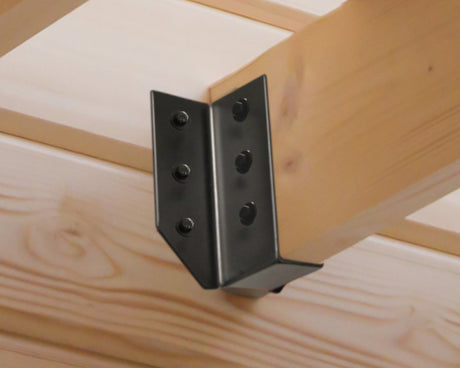
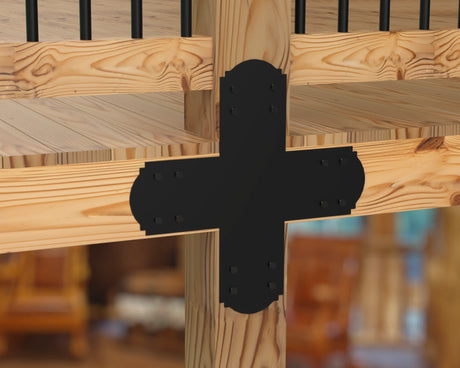
- Metal post anchors or brackets
- Galvanized screws or nails
- Level
- Tape measure
- Drill
- Saw (circular saw or miter saw)
- Wood sealer or stain (optional)
- Paintbrush or sprayer (for applying sealer or stain)
- Outdoor fabric or canopy (optional)

Step 1: Planning and Design
Begin by determining the location and size of your pergola. Consider factors such as the size of your outdoor space, the intended use of the pergola, and any existing landscaping features. Sketch out your design, taking into account the desired dimensions, shape, and style of the pergola.
Take your time and be as detailed as possible. It is a lot easier and leads to less problems if you have a sketch to refer back to.

Step 2: Marking the Location
Use stakes and string line to outline the footprint of the pergola in your chosen location. Double-check the dimensions and adjust the layout as needed to ensure it fits seamlessly into your outdoor space.
Double and triple check that all sides are equal measurements. Also, find the hypotenuse from corner to corner and make sure that is equal on either side, this will ensure you have a perfectly square layout.
Take your time with this step. Failing to accurately lay out your structure can cause problems further into the building process.

Step 3: Digging Post Holes
Dig post holes at each corner of the layout, as well as at intervals along the sides if more support is needed. The depth and diameter of the holes will depend on the size and design of your pergola, as well as local building codes. Generally, holes should be at least 20 inches deep and 8 inches in diameter depending on the frostline in your area.
If possible, leave the string lines in place and dig the wholes without moving or cutting the strings. This will make it easier to determine the exact locations of where the posts need to be placed.

Step 4: Installing Post Footings
Fill the bottom of each hole with concrete mix or gravel to provide stability and support for the posts. Set the posts into the footings, checking for plumb and alignment as you go. Allow the concrete to cure according to the manufacturer's instructions.
Use 2"x4"s to make support legs on 2-3 sides of each posts. This will keep the post plumb while the concrete is curing. This is very important as an un-plumb post may need to be reinstalled. (Busting up cured concrete is not fun.)

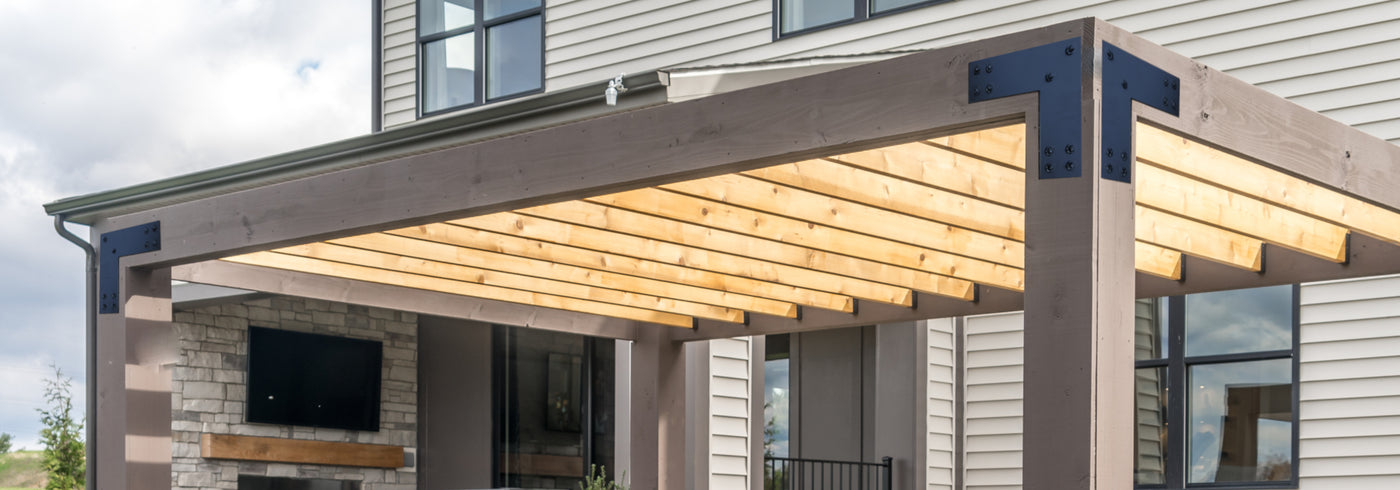
Step 5: Attaching Crossbeams and Rafters
Once the posts are in place, it's time to attach the crossbeams. Cut the beams to size, ensuring they overhang the posts evenly on each side. Position the crossbeams atop the posts and secure them in place with lag screws.
With the crossbeams in place, cut the rafters to size and attach them perpendicular to the crossbeams. Space the rafters evenly along the length of the pergola, leaving gaps between each rafter to allow for airflow and sunlight.
Optional: For more shade, add more strips on top of the rafters. Use 2"x4"s or smaller pieces of lumber as you don't want to completely block of the sunlight. This adds a little more structural stability to the rafters as well but is mostly for shade coverage and aesthetics.

Step 6: Finishing Touches
Once the basic structure of the pergola is assembled, take the time to add any finishing touches. Apply a wood sealer or stain to protect the lumber from the elements and enhance its natural beauty. You may also choose to add decorative elements such as brackets, lattice panels, climbing vines, or outdoor fabric for additional shade and privacy.
Optional Features
Depending on your preferences and budget, you can customize your pergola with a variety of optional features. These may include built-in benches or seating, integrated lighting, outdoor speakers, or a retractable canopy for added shade and versatility.

Maintenance
To ensure your pergola remains beautiful and functional for years to come, perform regular maintenance tasks such as inspecting for signs of wear or damage, cleaning debris from the structure, and reapplying sealant or stain as needed.