


Step 1: Design and Planning
Start by deciding on the size and design of your herb garden box. Consider factors such as available space, the number of herbs you want to grow, and the aesthetic you wish to achieve. Sketch out your design and calculate the dimensions accordingly.

Step 2: Cutting the Wood
Using a saw, cut the wood planks to the desired lengths for the sides, bottom, and optional dividers of your herb garden box. Be sure to account for the thickness of the wood when measuring and cutting.

Step 6: Lining the Bottom
To prevent weeds from growing into your herb garden box, line the bottom with weed barrier fabric or landscaping fabric. Trim the fabric to fit the dimensions of the box and secure it in place with staples or nails.

Step 6: Filling with Soil
Fill the herb garden box with potting soil, leaving a few inches of space at the top to accommodate the herb plants. Use a high-quality potting mix that is well-draining and nutrient-rich.

Step 7: Planting Your Herbs
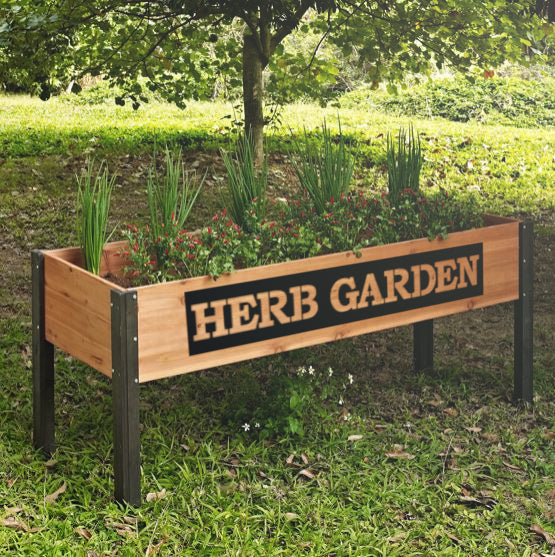
Now comes the fun part – planting your herbs! Arrange the herb plants or seeds in the herb garden box according to your design. Leave adequate space between plants to allow for growth and airflow.

Step 9: Watering and Care
After planting, water your herbs thoroughly to help them establish roots. Place the herb garden box in a location that receives adequate sunlight, typically 6-8 hours per day. Water the herbs regularly, but be careful not to overwater, as this can lead to root rot.
Loading...
Madison Iron and Wood
| SKU:
$59.95
$84.95
Unit price
/
Unavailable
Shipping calculated at checkout.
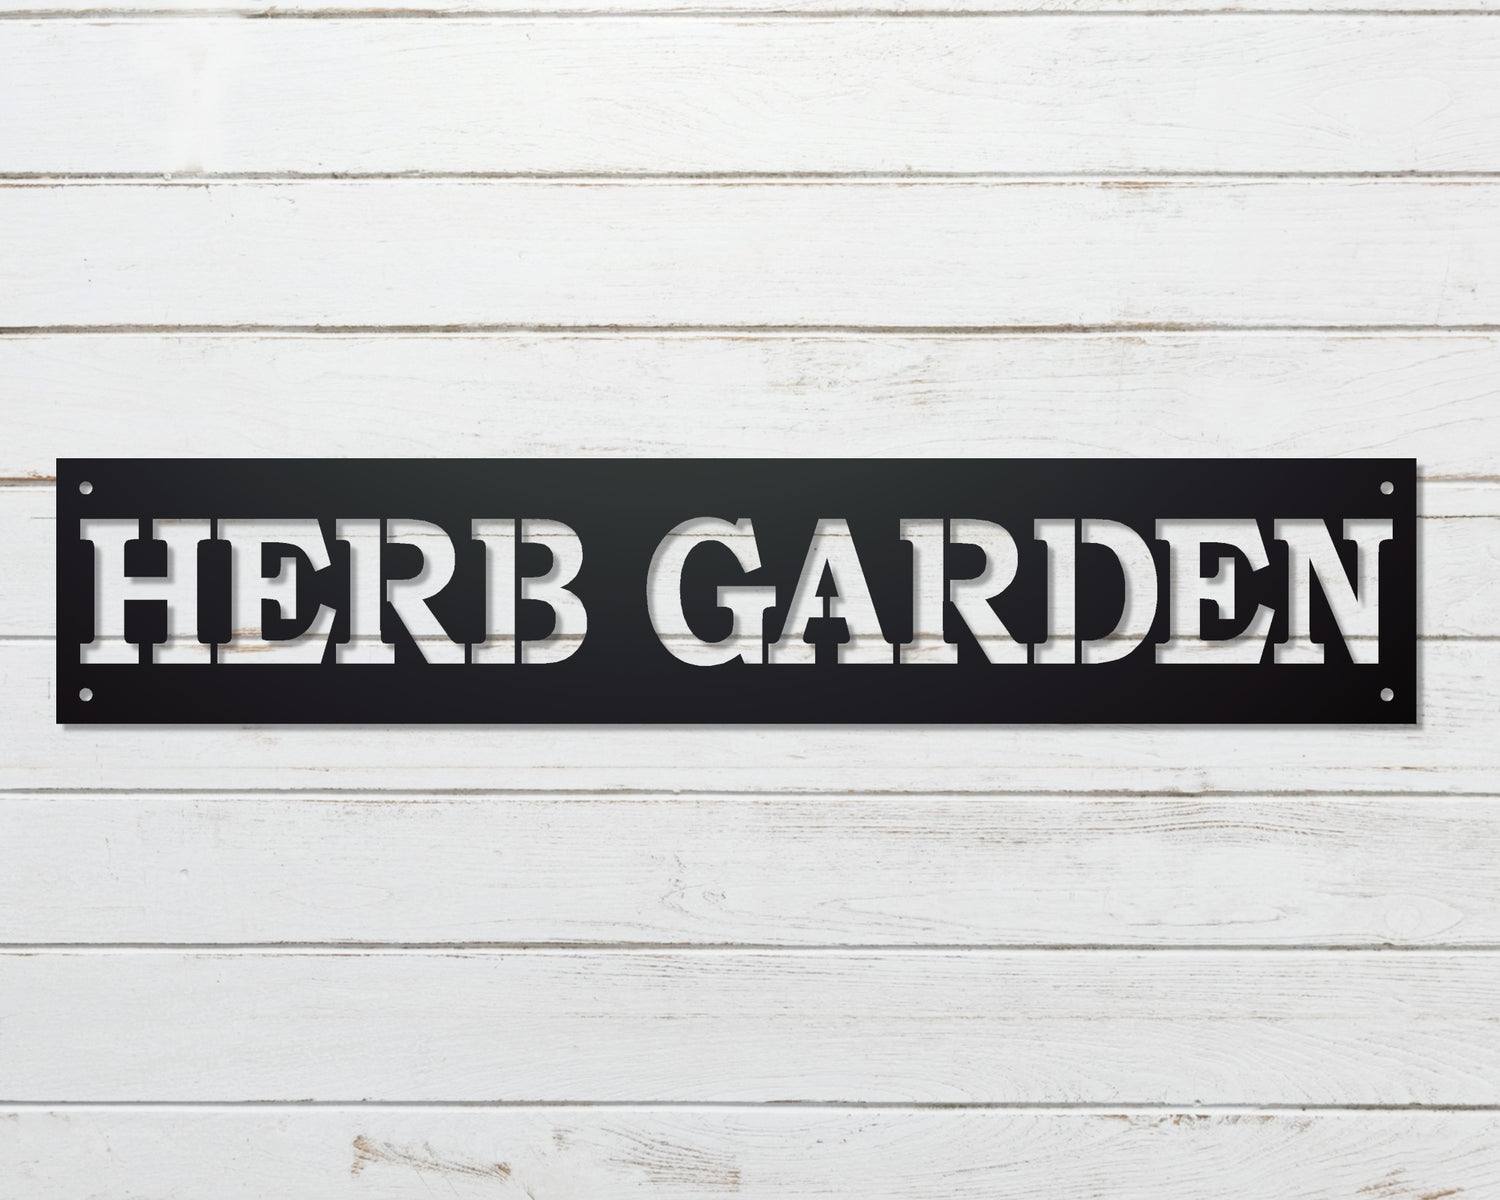
Herb Garden Metal Word Sign - Planter box "NOT" included - 23x4.5 inches / Textured Black is backordered and will ship as soon as it is back in stock.