Free Shipping on Orders Over $150! Exclusions Apply

Buy 4+ Post Caps, Get 10% Off! View Products

  • Free shipping on eligable orders over $150*

  • Made in the USA

  • Ships in 3-5 business days

How to Install Truss Brackets On Exposed Beams

A step-by-step guide on how to install your new brackets!

Exposed beams add a rustic and aesthetic appeal to any space, but ensuring their structural integrity is paramount. Truss brackets play a crucial role in supporting and stabilizing these beams, providing both strength and style. In this detailed guide, we'll walk you through the step-by-step process of installing truss brackets on exposed beams, ensuring a secure and visually pleasing result.

Materials and Tools:
  • Power drill
  • Wood screws
  • Measuring tape
  • Pencil
  • Level
  • Safety goggles
  • Work gloves

Step 1: Preparation

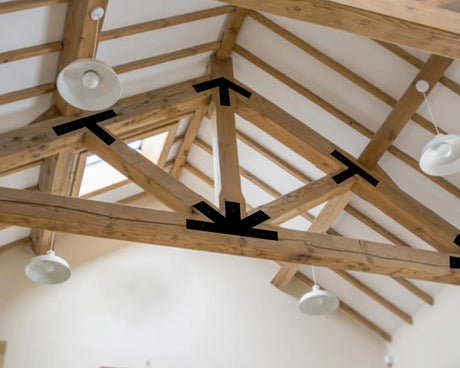
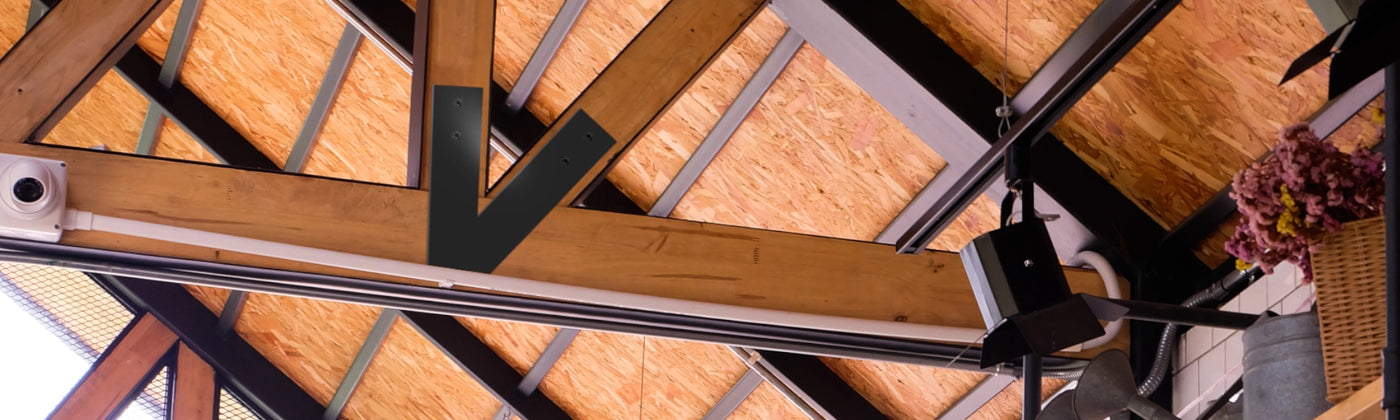
  • Begin by selecting the appropriate truss brackets for your beams. Consider the size and weight of the beams, as well as the desired aesthetic.
  • Clear the area around the beams to ensure ample working space. Remove any debris or obstructions that may impede the installation process.

Step 2: Measuring and Marking

  • Use a measuring tape to determine the precise placement of the truss brackets along the length of the exposed beams.
  • Mark the locations for the brackets using a pencil, ensuring they are evenly spaced and aligned with the beams.

Step 3: Drill Pilot Holes

With the help of a power drill, create pilot holes at each marked location on the beams. The diameter of the pilot holes should be slightly smaller than the diameter of the wood screws to ensure a snug fit.

Step 4: Attach the Brackets

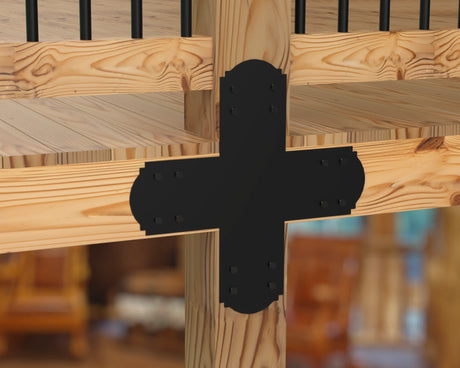
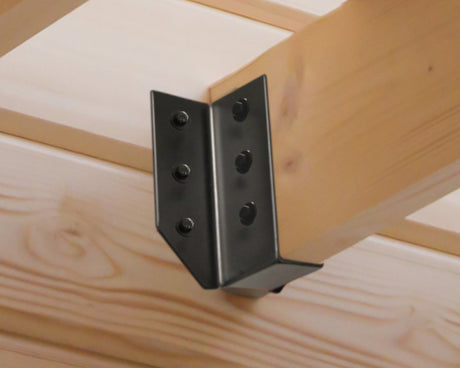
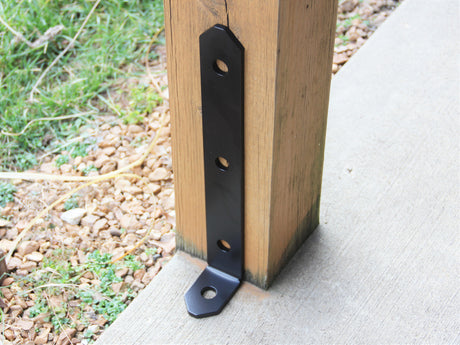
  • Position the truss brackets over the pilot holes, ensuring they are aligned with the markings on the beams.
  • Insert wood screws through the pre-drilled holes in the brackets and tighten them securely into the pilot holes using a power drill. Be sure to drive the screws in straight to prevent damage to the brackets or beams.

Step 5: Check for Level

Use a level to ensure that the truss brackets are installed evenly and that the beams are level. Make any necessary adjustments by loosening and repositioning the brackets before tightening the screws fully.

Conclusion

By following these detailed steps, you can confidently install truss brackets on exposed beams, ensuring both structural support and aesthetic appeal. Whether you're adding a decorative touch to a residential space or enhancing the functionality of a commercial property, mastering this craft will elevate your woodworking skills and create a lasting impression. Always wear safety goggles and work gloves when operating power tools or handling heavy materials. Exercise caution when working at heights or on elevated surfaces to prevent falls or injuries.